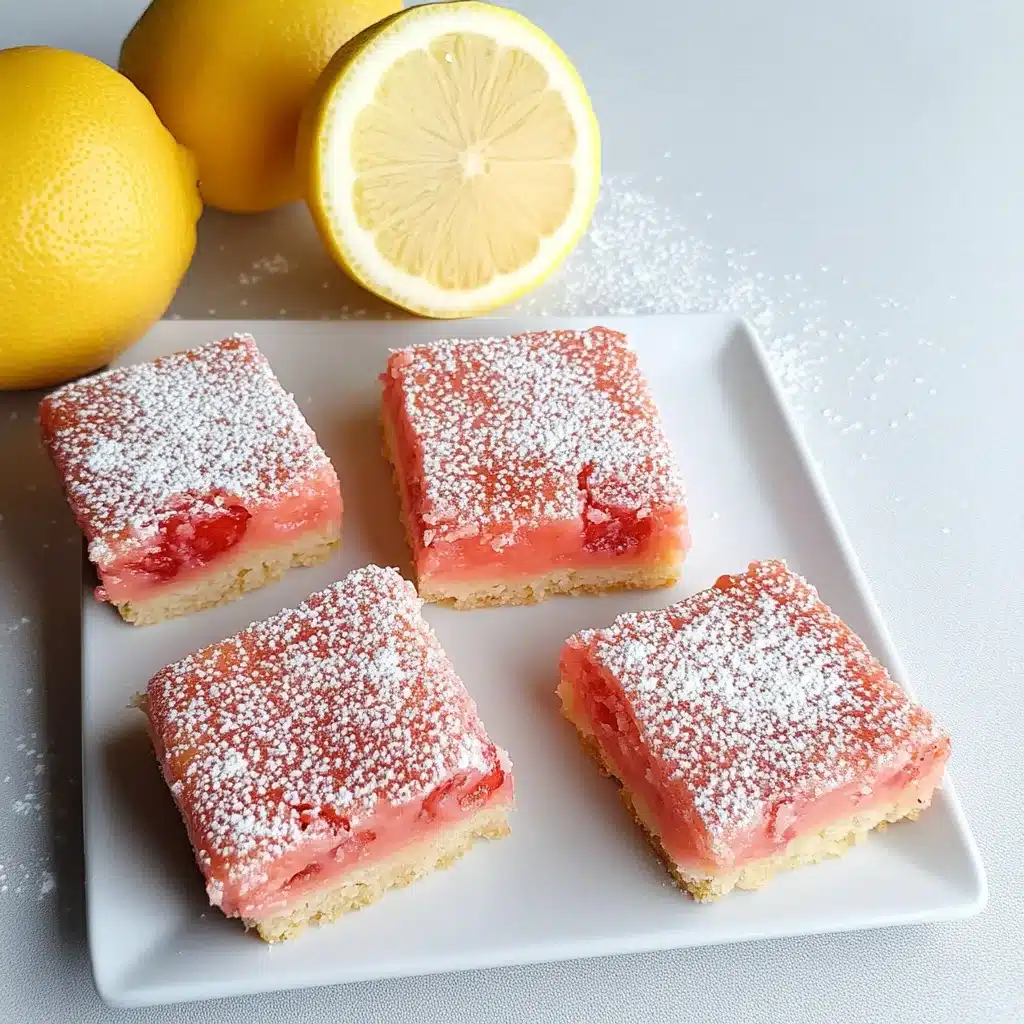
Every summer, our Saturday mornings start the same way. We load up the car with canvas totes and drive out to the farmer’s market just outside Asheville. The air smells like sun-warmed peaches and cut grass, and I always make a beeline for the strawberry stand. One weekend, after coming home with more berries than we could possibly eat, I started experimenting and these strawberry lemonade bars were the sweet result.
They’ve now become our go-to dessert for picnics, neighborhood cookouts, and honestly, just because. They’re bright, tart, sweet, and they remind me of lemonade stands and sunshine. My partner calls them “sunshine squares,” which I kind of love.
If you’re looking for a dessert that feels like summer on a plate, I think you’ll love them too. Let’s bake.

Table of Contents
Why You’ll Love This Recipe
These strawberry lemonade bars aren’t just tasty, they’re smart. Every detail has been tested to help you avoid the usual baking headaches.
No more runny filling. The texture is smooth and perfectly set thanks to the right egg ratio and careful baking time.
Say goodbye to soggy crusts. Par-baking the base creates a crisp layer that holds firm even under juicy lemon-strawberry filling.
Sweet meets tart in perfect harmony, with lemon adding sparkle and strawberries finishing with a burst of freshness.
Whether you’re baking for a picnic or just want a refreshing dessert, this recipe delivers reliable results with crowd-pleasing flavor.
Ingredients Needed for the Best Strawberry Lemonade Bars
To make the most flavorful strawberry lemonade bars, start with fresh ingredients and follow this simple list. Grouped by component, these ingredients guarantee the perfect texture and taste.
For the crust
• Unsalted butter, softened, ¾ cup
• Powdered sugar, one half cup
• All-purpose flour, two cups
• Salt, one fourth teaspoon
For the filling
• One cup fresh lemon juice, squeezed straight from 5 to 6 ripe lemons
• Lemon zest from one lemon
• Chopped fresh strawberries, one cup
• Granulated sugar, two cups
• Large eggs, six, at room temperature
• All-purpose flour, one half cup
• Baking powder, one half teaspoon
• Salt, one fourth teaspoon
• Powdered sugar for dusting
These strawberry lemonade bars rely on fresh strawberries and real lemon juice to achieve their signature tart-sweet flavor. The buttery crust gives each bar a solid base without becoming soggy. When you use quality ingredients, your strawberry lemonade bars will come out bright, chewy, and irresistible.
Pro tips that make all the difference: Our Little Secret
Great strawberry lemonade bars aren’t just about good ingredients. They’re about smart baking choices. Here’s what makes the difference between a decent dessert and a bakery-quality treat.
The role of eggs
Eggs are the foundation of the filling. They bind everything together and help it set into that perfect custard-like texture. Without enough eggs, the filling turns runny or fails to hold its shape after cooling.
The importance of par-baking the crust
One of the most common mistakes? Skipping the par-bake. It ensures the crust is set before the filling goes in. It creates a barrier that keeps the lemon-strawberry mixture from soaking through. This keeps the base firm and slightly crisp.
How to know they’re done
Don’t wait for the top to brown. These bars are ready when the edges are set and the center has a gentle jiggle. If the middle moves like liquid, they need more time. Once cooled, they will firm up completely into clean, perfect slices.
How to Make Strawberry Lemonade Bars
Follow these easy steps to make strawberry lemonade bars that look as good as they taste. Each stage has built-in tips to help you avoid the most common baking issues.
Step 1. Preheat and prep the pan
Set your oven to 350 degrees Fahrenheit. Line an eight-inch square baking dish with parchment paper, leaving a bit hanging over the edges for easy removal later.
Step 2. Make the crust
In a mixing bowl, cream the softened butter and powdered sugar until smooth. Add flour and salt. Mix until the dough starts to come together. Don’t worry if it looks rough at the start; a little more mixing does the trick.
Press the crust into the pan. Press it firmly into the corners using your fingertips or the base of a glass. The layer will seem thin, but it will hold up once baked.
Step 3. Bake the crust
Slide the pan into the oven and let it bake for 20 minutes. The edges should look slightly golden. As the crust bakes, get started on mixing the filling.
Step 4. Make the filling

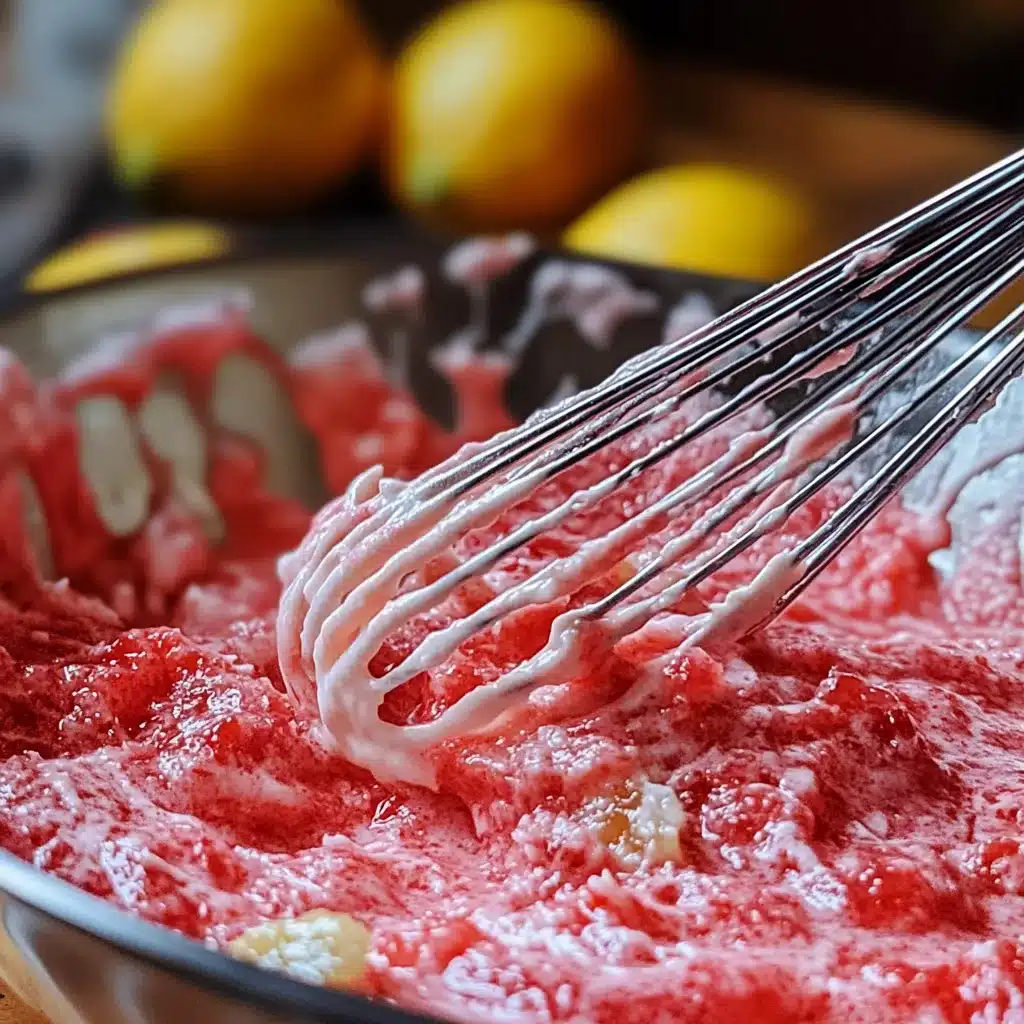
In a blender or mixing bowl, combine lemon juice, lemon zest, strawberries, sugar, and eggs. Blend or mix until smooth. Add flour, baking powder, and salt. Mix until well combined with no lumps remaining. The filling should be silky and slightly thick.
Step 5. Add filling and bake again
When the crust comes out of the oven, immediately pour the filling over it while it’s still hot. Bake for another 30 to 35 minutes, keeping a close watch during the last five. The center should have a gentle wobble when nudged, not a liquid slosh.
Step 6. Cool completely
Remove the pan from the oven and let it cool at room temperature for one hour. Then place it in the fridge for another one to two hours. This step helps the bars firm up for clean cuts.
Step 7. Slice and serve

Use the parchment overhang to gently lift the chilled bars out of the pan. Wet a sharp knife before cutting and wipe it clean between slices. Dust with powdered sugar just before serving for a classic look.

Strawberry Lemonade Bars Recipe Everyone Absolutely Loves
Ingredients
Method
- Preheat the oven to 350 degrees Fahrenheit. Line an eight-inch square baking dish with parchment paper and set aside.
- Cream butter and powdered sugar until smooth. Add flour and salt. Mix until a dough forms.
- Press the crust mixture into the prepared pan in an even layer. Bake for 20 minutes until the edges are slightly golden.
- While the crust bakes, blend lemon juice, zest, strawberries, sugar, and eggs until smooth. Add flour, baking powder, and salt. Mix until well combined.
- Pour the filling over the hot crust. Bake for another 30 to 35 minutes. The center should jiggle slightly but not look liquid.
- Let the bars cool at room temperature for one hour. Chill in the fridge for at least one more hour.
- Lift the bars out of the pan. Use a wet, sharp knife to slice cleanly. Dust with powdered sugar before serving.
Nutrition
Notes
Tried this recipe?
Let us know how it was!Popular Variations You Must Try
If you love strawberry lemonade bars, these exciting twists will add fresh inspiration to your baking. Each version keeps the same sweet-tart flavor but brings something a little different to the table.
No Bake Strawberry Lemonade Dream Bars
For hot days when you want to skip the oven, these no bake strawberry lemonade bars are the answer. Start with a cookie crumb crust, then layer on a silky filling made with whipped topping, fresh lemon juice, and pureed strawberries. Chill until firm for a cool, mousse-style treat.
Crumble Topped Strawberry Lemon Bars
Give your strawberry lemonade bars a rustic look and extra crunch by adding a simple crumble topping. Combine oats, flour, brown sugar, and butter, then sprinkle it over the filling before baking. It adds golden color and a sweet contrast to the soft lemon layer.
For a delightful crunch and a rustic, bakery-style finish, add this simple crumble topping. It adds a wonderful texture that contrasts beautifully with the smooth, zesty filling.
For the Crumble Topping:
- ½ cup (60g) all-purpose flour
- ¼ cup (50g) packed brown sugar
- ¼ cup (25g) rolled oats (optional, for extra texture)
- ¼ cup (57g or 4 tbsp) cold unsalted butter, cut into small cubes
- A pinch of salt
Instructions:
- In a medium bowl, whisk together the flour, brown sugar, rolled oats (if using), and salt.
- Add the cold, cubed butter. Using your fingertips or a pastry blender, work the butter into the dry ingredients until the mixture resembles coarse, uneven crumbs.
- Sprinkle the crumble mixture evenly over the unbaked strawberry lemonade filling in the pan.
- Bake as directed in the main recipe. The crumble should be lightly golden and firm to the touch.
Glazed Strawberry Lemon Bars
For a polished finish, try topping your strawberry lemonade bars with a strawberry glaze. Mix powdered sugar with strawberry puree or crushed freeze-dried berries. Drizzle it over the cooled bars for extra berry flavor and a beautiful presentation.
These strawberry lemonade bars variations offer something for everyone. Whether you prefer no bake convenience, buttery crunch, or a smooth glaze, you can enjoy this classic in more ways than one.
Troubleshooting
Even with simple recipes like strawberry lemonade bars, a few issues can pop up. Here’s how to fix the most common problems so your dessert turns out perfect every time.
Runny filling
If your filling is too loose, it may need more baking time. Check that the center has only a slight jiggle before removing it from the oven. Using cold eggs or under-mixing the filling can also lead to this issue.
Soggy crust
A soggy base usually means the crust wasn’t baked long enough before adding the filling. Always par-bake until the edges are lightly golden. Pour the filling over the crust while it’s still hot to help seal the layer.
Overbaked edges
If the edges of your strawberry lemonade bars are browning too much, try covering them loosely with foil halfway through the second bake. This helps prevent dryness while the center sets.
Uneven texture
Blending the filling ensures everything mixes smoothly. If you stir by hand, make sure there are no streaks of egg or flour left in the batter.
Too tart or too sweet
Use fresh lemon juice for the best balance. If your lemons are especially sharp, reduce the amount slightly or add a few extra tablespoons of sugar to soften the flavor. On the other hand, if the bars are too sweet, try using slightly less sugar or add more lemon zest for punch.
Storage and Freezing Instructions
Strawberry lemonade bars taste best straight from the fridge, but proper storage is key to keeping them delicious for days. Here’s how to make leftovers last.
At room temperature
Because these bars contain eggs and real fruit, limit their time at room temperature. After a couple of hours, transfer any leftovers to the fridge.
In the refrigerator
Keep the bars fresh by sealing them in an airtight container or wrapping the pan snugly with plastic wrap. They will stay fresh for four to five days. Chilling also helps keep the texture firm, making the bars easier to cut and serve.
In the freezer
For longer storage, freeze individual bars by wrapping each one in plastic wrap and placing them in a freezer-safe bag or container. This method prevents freezer burn and keeps the flavor locked in. Thaw in the refrigerator before serving. Avoid microwaving, as it can change the texture.
Conclusion
There’s something magical about these strawberry lemonade bars. Each bite brings the taste of sunny afternoons, laughter, and the joy of sharing something homemade. With a buttery shortbread base, a smooth lemon filling, and sweet bursts of fresh strawberries, this dessert is a reminder that simple ingredients can create something unforgettable.
This guide wasn’t just written to give you another recipe. It’s here to help you succeed. From avoiding soggy crusts to getting that perfect set, our tips break down the ”science” of baking into steps you can trust. You’ll not only make better strawberry lemonade bars you’ll feel more confident every time you bake.
Once you’ve nailed the classic, don’t stop there. Try the crumble-topped version or go for the strawberry glaze finish. These bars are endlessly adaptable, and each version brings a new layer of flavor and fun.
We’d love to hear from you. If you tried these strawberry lemonade bars, leave a rating and let us know how they turned out. Did you make any changes? Try a twist? Share your results in the comments so other home bakers can be inspired too.
And don’t forget to share your beautiful creations on Facebook, Instagram or Pinterest by tagging us. We love seeing how our recipes come to life in your kitchen.
Frequently Asked Questions
Can I use frozen strawberries instead of fresh for strawberry lemonade bars?
Yes, you can. Thaw the strawberries first and drain any excess liquid. If the mixture seems too thin, add a small spoonful of flour or cornstarch to help thicken the filling.
Why is my filling runny?
The filling may not have baked long enough. It should have a slight wobble in the center, not a liquid texture. Also, be sure to measure the lemon juice and eggs correctly, as too much of either can prevent it from setting properly.
Why did my crust get soggy?
This usually happens when the crust isn’t par-baked before adding the filling. Baking the crust first creates a firm layer that holds up against the lemon-strawberry mixture. Also, avoid letting the crust cool down completely before pouring on the filling.
How do I get clean, perfect cuts?
Chill the bars fully before cutting. Use a sharp knife dipped in warm water and wipe it clean between each slice. This helps you get neat, bakery-style edges without smudging the filling.
Can I reduce the sugar?
Yes, but make small changes. Reducing the sugar by up to one fourth cup usually works without affecting the texture. Keep in mind that cutting too much can make the bars overly tart and alter the way they bake.
Do I need to pre-bake the crust for strawberry lemonade bars?
Absolutely. Pre-baking is essential for a firm base. It keeps the crust from turning soggy when the filling is added. Bake until the edges are lightly golden before moving on to the next step.
